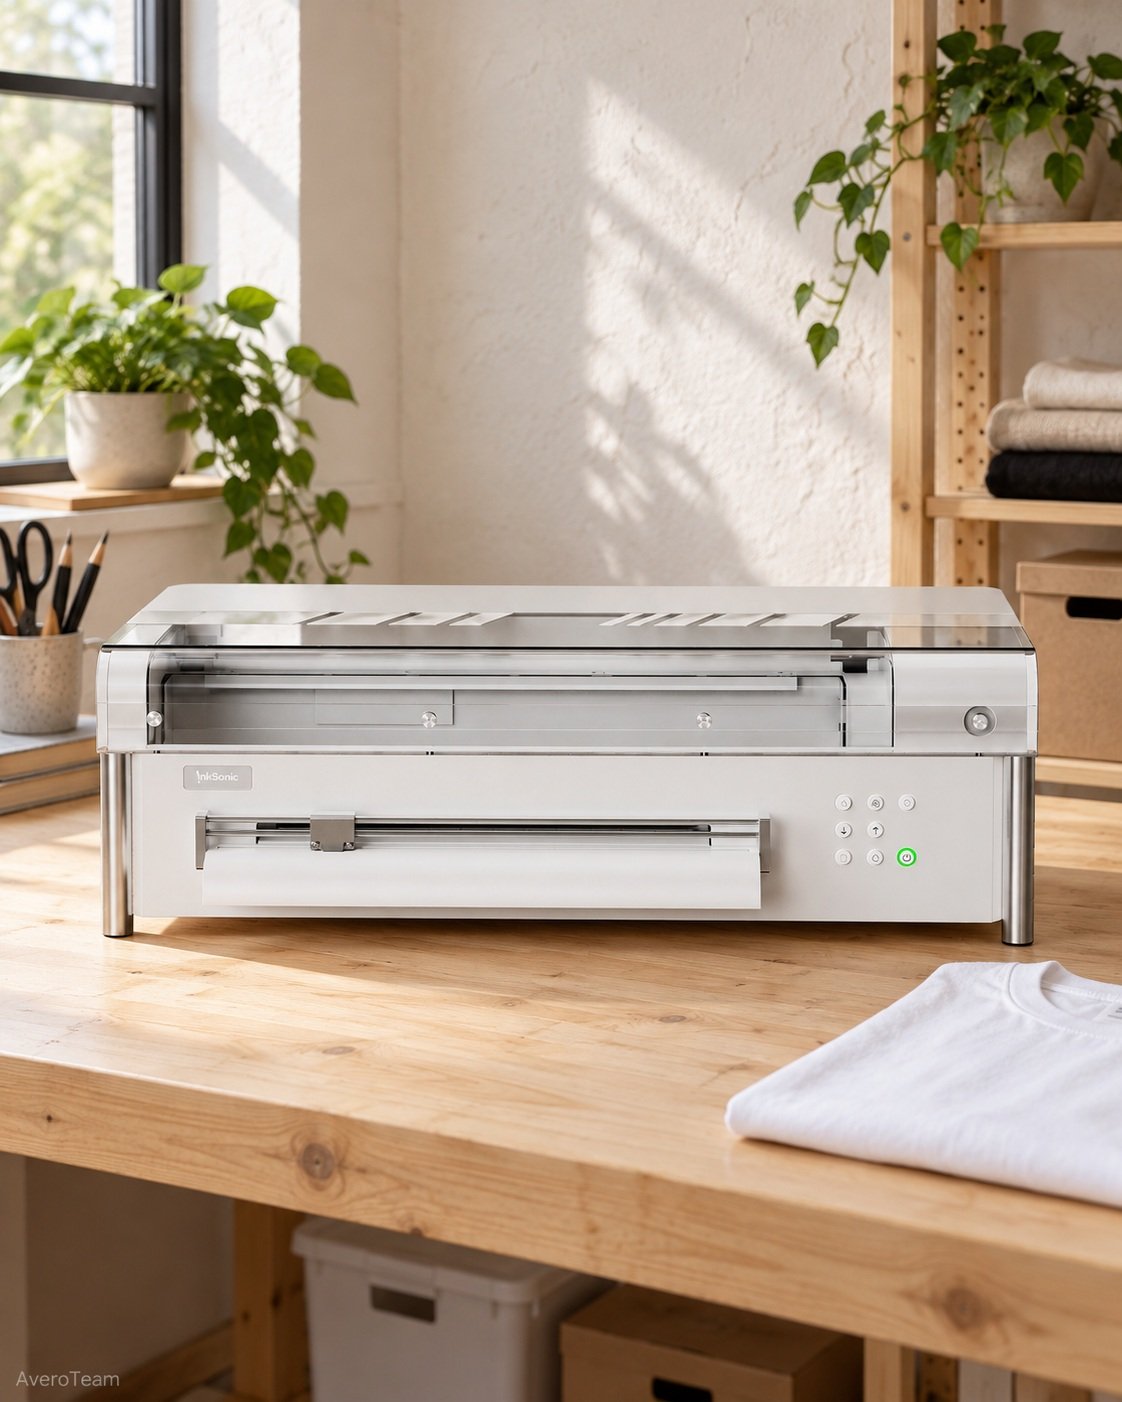
Featured image: AI-assisted editorial illustration by AveroTeam. Check the merchant listing for exact appearance and package contents.
Before buying or commissioning an InkSonic Spark F13, plan the whole garment-transfer workflow—not just a place for the printer. First-time buyers need a compatible Windows computer, a powder-handling and curing arrangement, a heat press, and time for routine care.
This guide helps you prepare that setup. It does not replace InkSonic’s model-specific installation or safety instructions. If you cannot accommodate the workspace or maintenance responsibilities, postponing the purchase or ordering outsourced transfers may be more practical.
Step 1 — Identify the exact F13 package you need
The configuration discussed here is the InkSonic Spark F13 — White / Printer package. Other colors and bundles may differ, so keep that selection attached to your equipment list and quotation.
InkSonic’s saved listing identifies a 13-inch print width. Use that as an initial artwork-planning reference, then follow the documented printable area and margins when preparing files. Nominal width alone does not establish whether a particular design will fit.
Create three columns: included in the selected package, already owned and still needed. Obtain the current package contents before assigning items to the first column. Do not assume that a computer, curing equipment or heat press comes with a printer package; also establish which starter consumables and software accessories are included.
Result: a package-specific equipment list rather than a shopping list based on a different bundle.
Step 2 — Budget for a finished transfer, not just a printer
InkSonic’s White / Printer listing captured on 10 October 2026 showed USD 2,099, with USD 2,599 as the comparison price. This is a historical snapshot, not a current quote or assurance that the offer remains available.
The button below opens InkSonic through our shopping link; select White / Printer to compare the same package. AveroTeam may earn a commission at no extra cost to you.
Build the rest of the budget around these stages:
| Workflow stage | What to account for |
|---|---|
| Artwork and RIP preparation | Compatible computer, required software and licensing |
| Printing | Selected printer package, compatible ink and transfer film |
| Powder application and curing | Compatible powder, suitable curing equipment and safe handling provisions |
| Garment pressing | Suitable heat press and materials for sample transfers |
| Routine care | Manufacturer-specified maintenance supplies and replacement consumables |
| Workspace | Suitable work surfaces, electrical provision and required safety measures |
A useful budget structure is:
Selected package + missing computer and equipment + workspace and safety provisions + delivery and taxes + replenishment and maintenance supplies.
For example, owning a suitable Windows computer and heat press may cover two parts of the workflow, but it does not resolve curing, powder handling or printer care. Keep those lines in the budget until you have a workable arrangement.
Result: an itemized budget with unknown costs marked “quotation needed,” rather than treated as zero.
Step 3 — Map the printing, curing and pressing areas
Sketch the path from artwork preparation to finished garment: computer, printer, powder application, curing, pressing and inspection. Arrange the workspace so that handling a printed film or hot garment does not require reaching across another active station.
Use InkSonic’s current F13 dimensions, weight and access requirements to choose the printer’s support surface. Allow for loading and servicing as directed in the installation documentation; the printer’s footprint alone is not a complete workspace specification.
Plan storage for consumables and maintenance materials as well as the machines. Follow the printer and curing-equipment instructions, together with ink and powder safety documentation, for ventilation, handling, electrical and heat precautions. Do not improvise extraction or clearance requirements from a photograph of someone else’s setup.
Result: a measured layout covering the entire process, with safety and electrical questions resolved before equipment is installed.
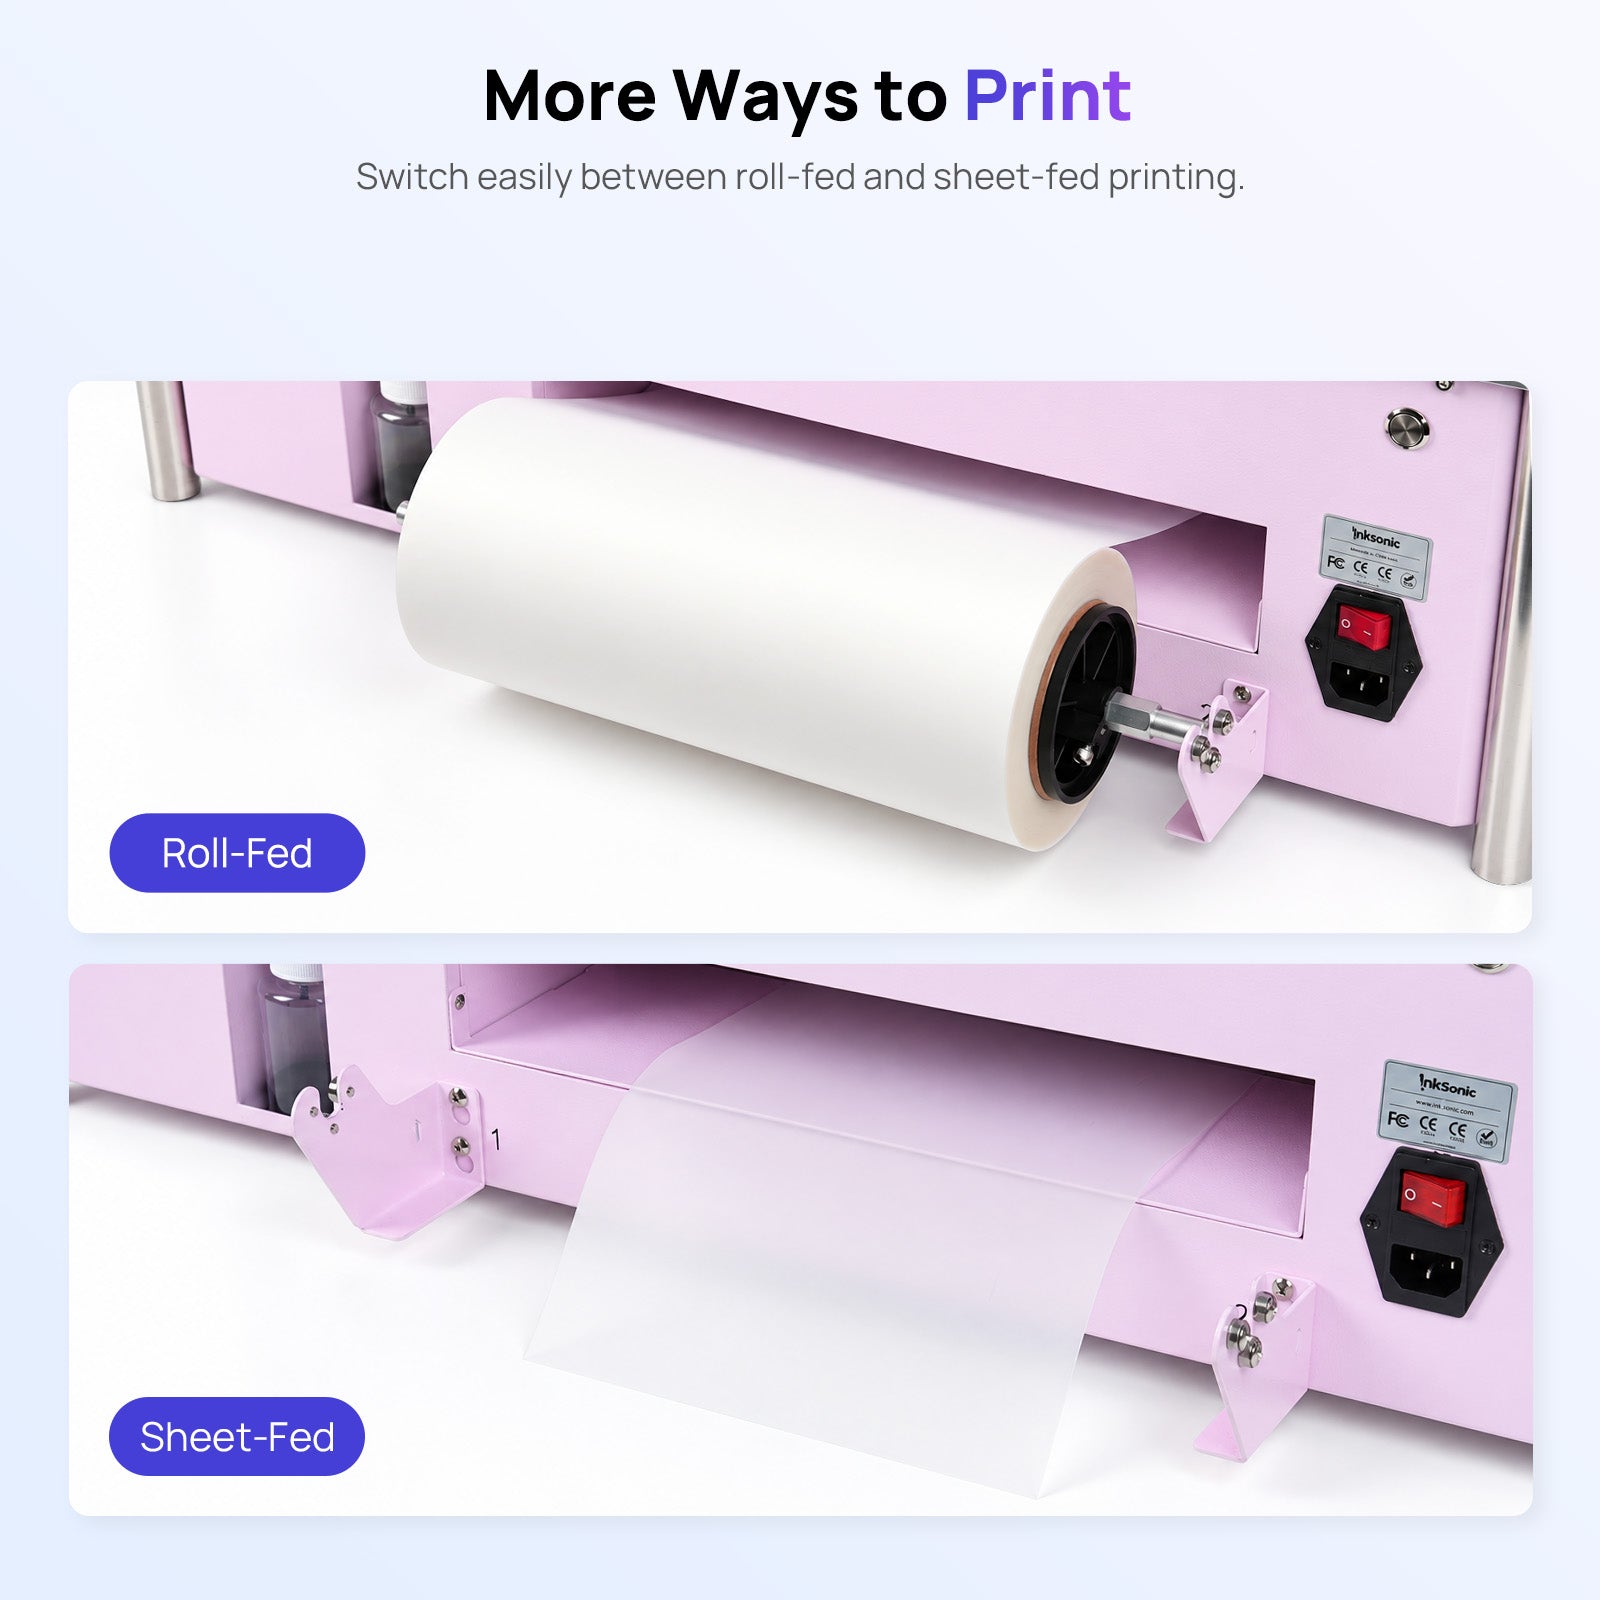
Source: InkSonic
Step 4 — Prepare Windows and the required RIP software
InkSonic specifies Windows 10 or later for the selected F13 listing. Treat that as an operating-system requirement, not proof that every Windows computer is compatible. Do not plan around native macOS use or a virtual machine without explicit support for your configuration.
InkSonic’s site lists its custom RIP software, Spark F13 Support and a Download Center. Use the F13-specific guidance to establish the required InkSonic RIP version, license arrangements, drivers, computer hardware and connection method.
Before commissioning, gather the applicable installers and instructions and compare your computer against the complete documented requirements. Follow the prescribed installation order rather than guessing whether software or the printer connection comes first.
Result: a suitable computer and the correct software, licensing and connection instructions ready for installation.
Step 5 — Commission the printer and approve a complete sample
Follow InkSonic’s F13 instructions for unpacking, initial preparation, ink setup, connection and diagnostic checks. This planning guide does not supply ink-loading procedures, button sequences or settings: those must come from the instructions for your machine and materials.
Once the required printer checks pass, take a sample through the full transfer process using the specified film, ink, powder, curing and pressing guidance. A printed film is an intermediate result, not proof that the finished garment is acceptable.
Inspect the final sample against the relevant manufacturer checks before accepting production work. Keep a record of the materials and settings used so that a successful setup can be repeated and a fault can be traced to its stage.
Result: a completed sample with no unresolved commissioning faults—not merely a printer that produces an image.
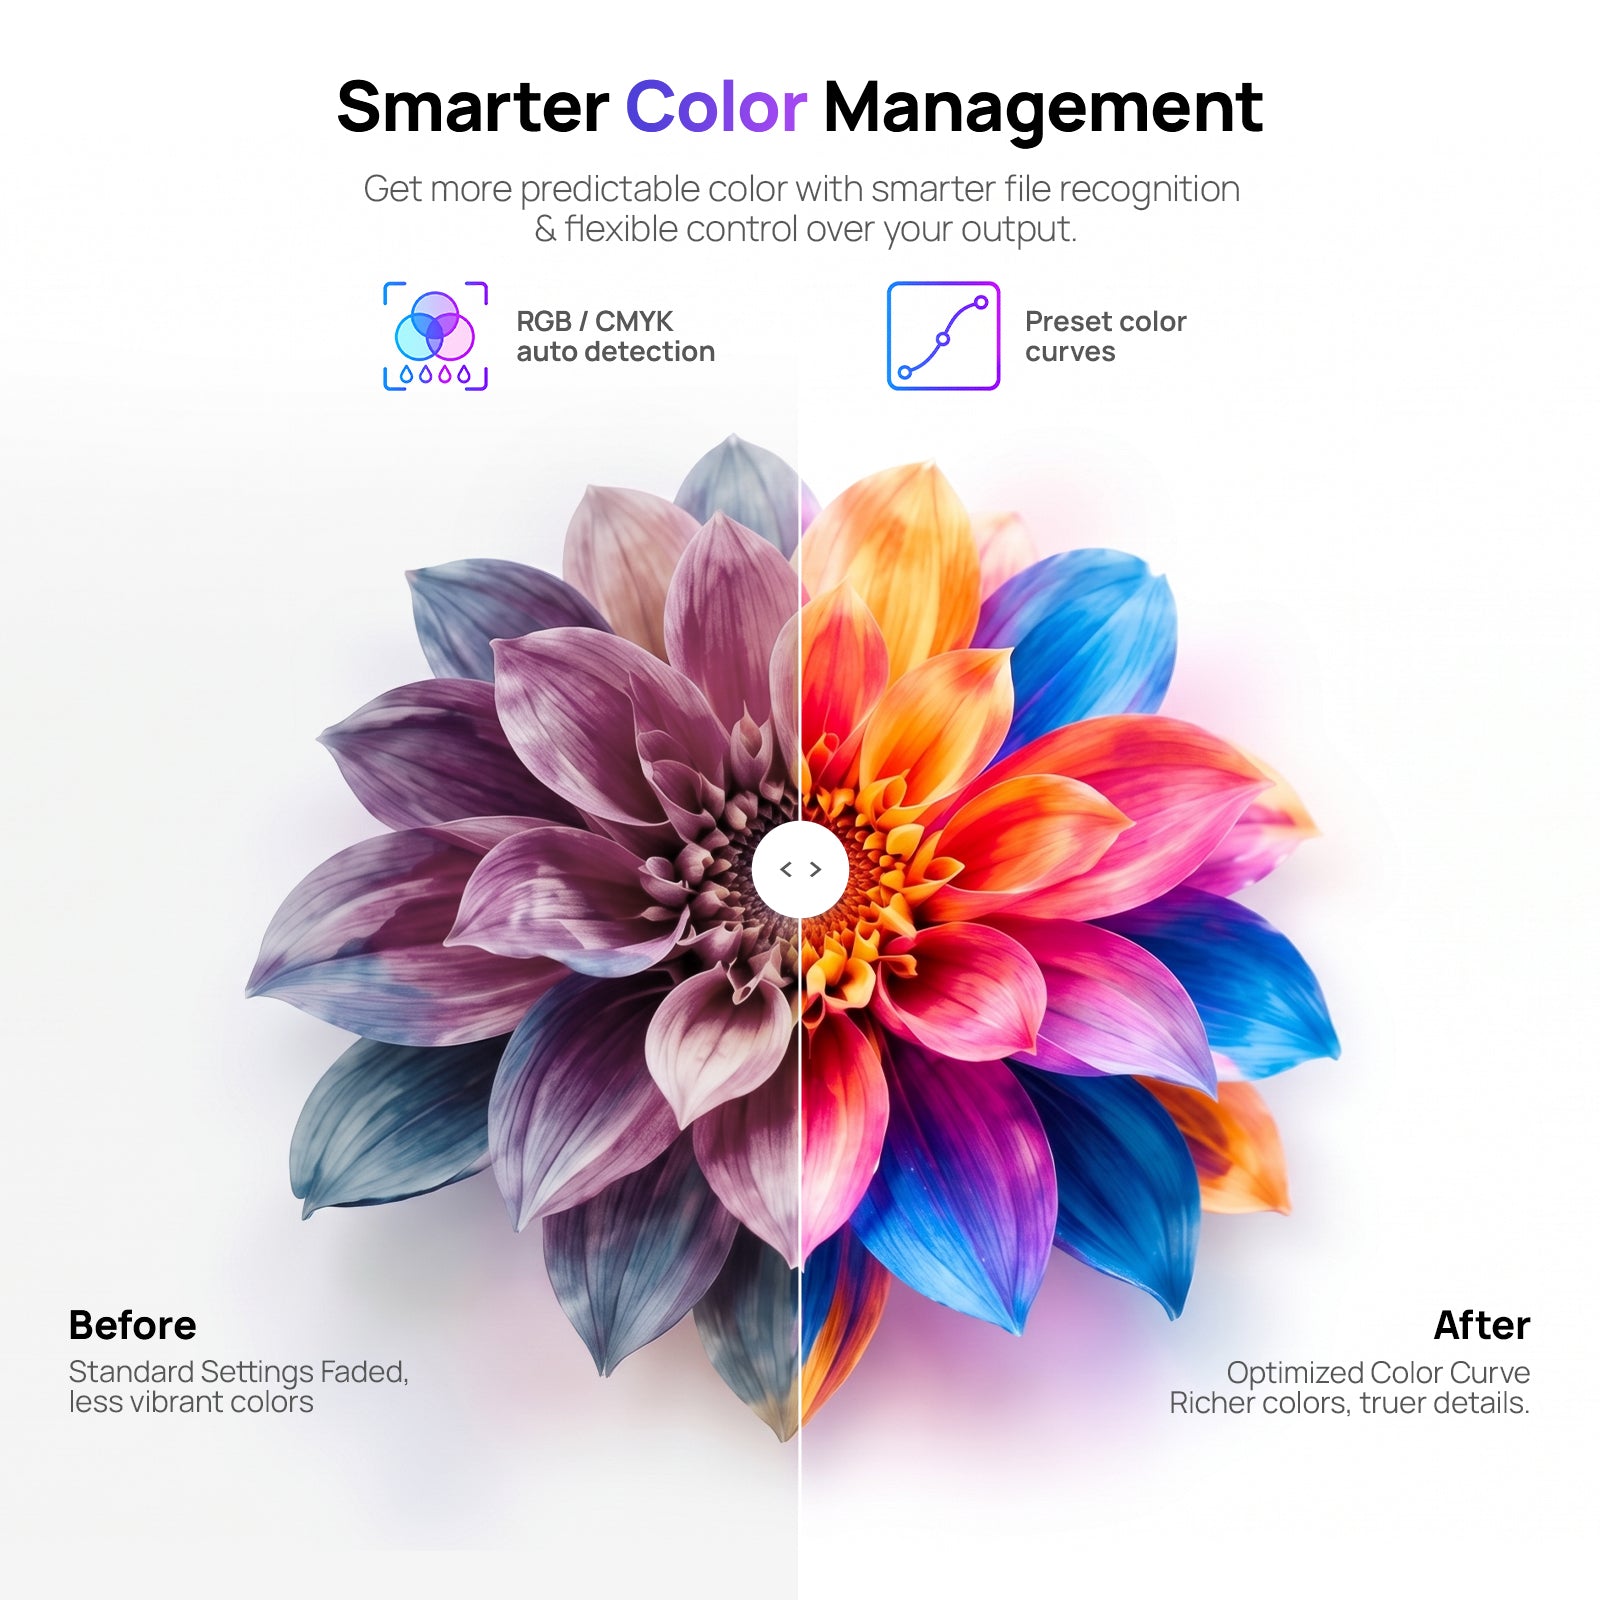
Source: InkSonic
Step 6 — Establish care and capacity routines
Build an operating-day routine from InkSonic’s F13 maintenance instructions. Include the prescribed startup checks, white-ink care, cleaning, shutdown and idle-period procedures. Assign responsibility for those tasks, especially if more than one person will use the printer.
Do not assume automated functions replace manual responsibilities. Equally, avoid borrowing cleaning intervals or fluid quantities from instructions for another model. If printing will be occasional, settle the idle-period routine before committing to ownership.
Plan capacity around the complete job: artwork preparation, printing, powdering, curing, pressing, handling and maintenance. Once commissioned, use your own completed-workflow observations to refine scheduling rather than converting a printer speed claim into garments per hour.
Result: a repeatable care routine and a production plan grounded in the whole process.
If setup stalls, isolate the blocker before production
For software or connection trouble, record the Windows version, RIP version, connection arrangement and exact error message before contacting support. For a failed print check or transfer defect, identify whether the problem appears during printing, curing or pressing. Return to the relevant instructions instead of making repeated undocumented adjustments.
Keep one consolidated question list for InkSonic:
- What exactly comes with the White / Printer package, including starter consumables and software licensing?
- What computer configuration, connection method and curing equipment are supported?
- What electrical specifications apply to each selected machine?
- What are the delivery charges and applicable taxes?
- What care is required during operation and extended idle periods?
- What warranty and support terms apply to this package and destination?
Use the store route for broader equipment planning:
If the workflow does not fit your space or schedule, compare other printing approaches through Printers before committing to equipment.
Official reference
InkSonic Spark F13 product listing, reviewed on 10 October 2026. Confirm the current configuration and terms before ordering.